Securing our database with authentication and Deploying our API to the web
Securing our database with authentication
Every public (and private) API must come with some sort of protection around its data. We mustn't allow anyone in the world to poke around our important database.
And while there are various authentication methods out there, Bearer is one of the simplest.
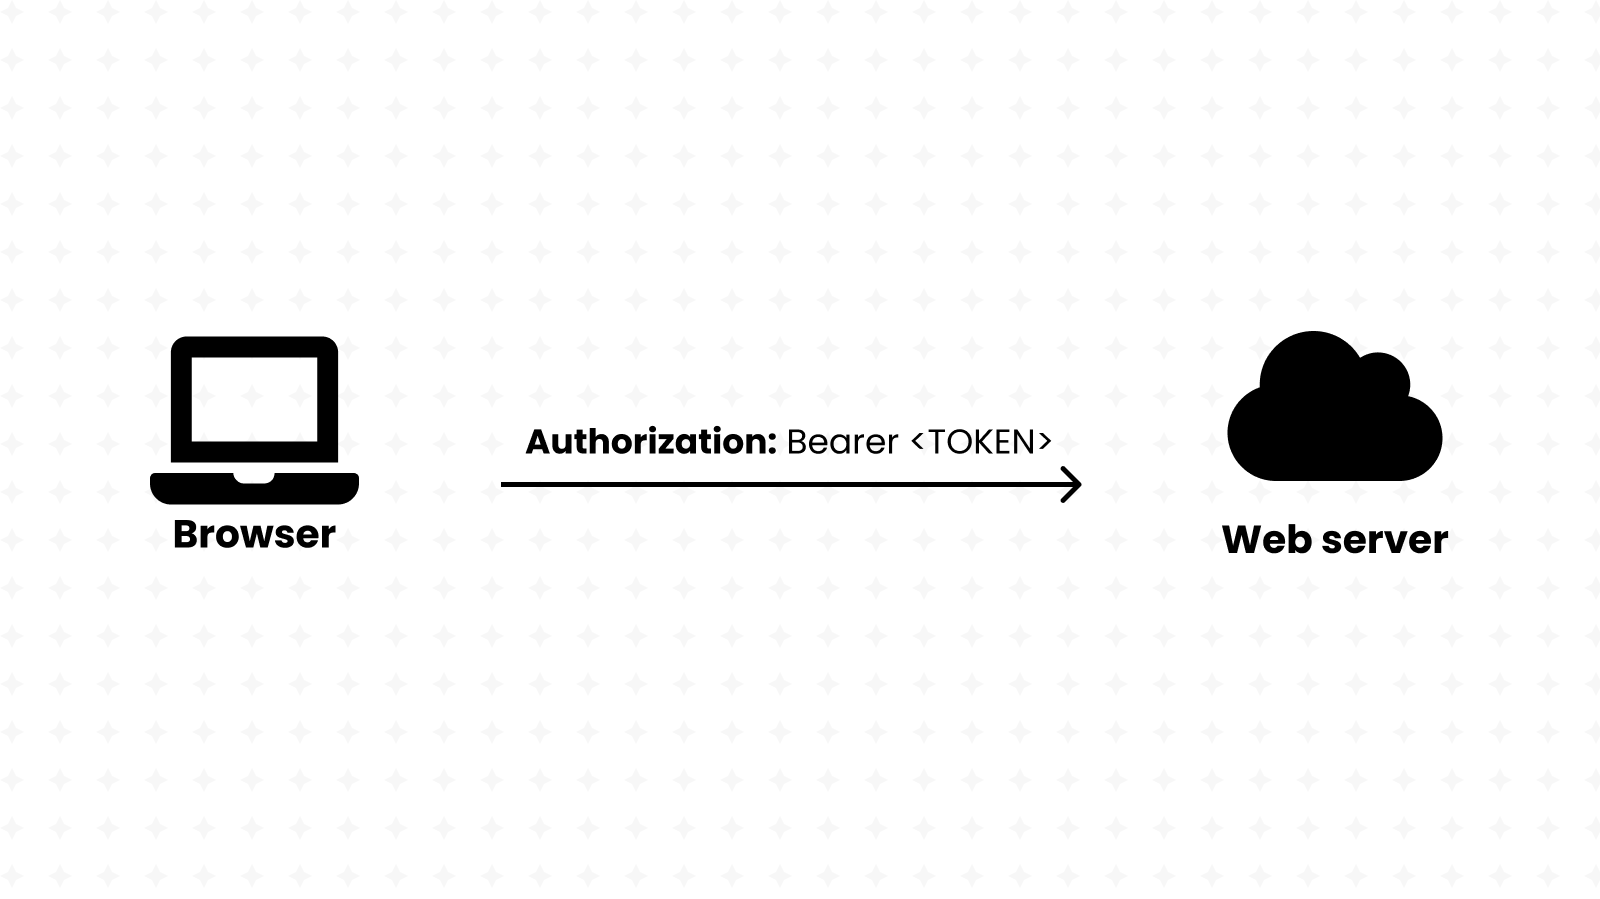
It's quite simple: we give users a token (they're the bearer of that token), we give that token some privileges (such as only reading or also writing and deleting) and finally we require the use of that token when making unsafe HTTP requests.
We won't be implementing privileges and roles to keep this guide simple, but we'll be using Bearer authentication. Get started by installing the jsonwebtoken package; it's an implementation of JSON Web Tokens, an standard for creating and checking credentials across the Internet.
After that, create an auth.js file, which will contain two important utilities for Bearer authentication.
The first one is an Express middleware that's run before every route handler we desire. It's there to help us avoid repetition, so we can instead write all the authentication logic in one function and not worry about it anymore.
We expect auth-enabled routes to receive an Authorization HTTP header containing a value in the form Bearer <TOKEN>, so let's start by extracting the <TOKEN>:
// auth.js

import jwt from "jsonwebtoken";

export function authenticateUser(req, res, next) {
  const authHeader = req.headers["authorization"];
  const bearerToken = authHeader && authHeader.split(" ")[1];

  if (!bearerToken) {
    res.sendStatus(401); // 401 UNAUTHORIZED
  }
}
We'll proceed by verifying the validity of this token using the verify() method. But before we do that, it's important to note that Bearer authentication depends on one secret stored in the environment variables. With this secret value, Bearer tokens are both generated and verified.
Let's create our token by running the following command:
// generate-secret.js
require("crypto").randomBytes(64).toString("hex");
node generate-secret.js

Copy that token and paste it in your .env file with the key name: "TOKEN_SECRET".
Let's delve back into our code:
if (!bearerToken) {
  res.sendStatus(401);
} else {
  jwt.verify(bearerToken, process.env.TOKEN_SECRET, (err, user) => {
    if (err) {
      console.log(err);
      res.sendStatus(403); // 403 FORBIDDEN
    } else {
      req.user = user;
      next();
    }
  });
}
Every Express middleware is handed a next() function, which is simply called to run the default route handler. We're calling it when there's no error with verification, meaning that the Bearer token is correct.
Let's go back into our router code and add this middleware to all our unsafe HTTP method handlers:
import { authenticateUser } from "./auth.js";

router.post("/", authenticateUser, ... )
router.put("/:id", authenticateUser, ... )
router.patch("/:id", authenticateUser, ... )
router.delete("/:id", authenticateUser, ... )
And yes, the second parameter just became the middlware function, while the route handler was pushed to the next position. This is totally possible because JavaScript supports a clever workaround for overloading, a programming language feature that allows functions to have the same names but different parameters.
Let's try it out now:
curl -X DELETE http://localhost:3000/bikes/<ID> # replace <ID> with an ID from the response to /all

Unsurprisingly, we're now getting the 401 UNAUTHORIZED response that we previously programmed when there was no Bearer token in the request. Let's go ahead and add one new route to generate Bearer tokens. This one will directly go into index.js as we don't want it to be prefixed with the bikes/ route.
// Create new bearer token
app.post("/api/user", (req, res) => {
  const username = req.body.username;

  const token = ""; // TODO
  res.send({ token });
});
We still need a utility function that generated the Bearer tokens. Head back to the auth.js file and add the following:
// auth.js

export function generateAccessToken(username) {
  return jwt.sign(username, process.env.TOKEN_SECRET, { expiresIn: "1800s" });
}
As you can see, we're using the same secret to generate our Bearer tokens, and we're also setting them to expire in 30 minutes (or 1800 seconds). We can now finish our token route:
import { generateAccessToken } from "./auth.js";

// Create new bearer token
app.post("/api/user", (req, res) => {
  const username = req.body.username;

  const token = generateAccessToken({ username });
  res.send({ token });
});
And with that done, we can easily generate new tokens and use them in our API requests. Restart your server (CTRL+C then npm run dev) and run the following command:
curl -H 'Content-Type: application/json' http://localhost:3000/api/user -d '{"username": "cyclic"}' | jq .token -r
Let's add an "Authorization" header to our new request:
export TOKEN=<TOKEN> # replace <TOKEN> with the token from /api/user
curl -H "Authorization: Bearer $TOKEN" -X DELETE http://localhost:3000/bikes/<ID> | jq . # replace <ID> with an ID from the response to /all

Deploying our API to the web, with Cyclic
We just created a full-fledged RESTful API that could be used to build an e-commerce store for bikes. Through this journey, we learnt about servers, HTTP, RESTful APIs, AWS DynamoDB and how Cyclic brings all these technologies together into one using its distinct starter templates.

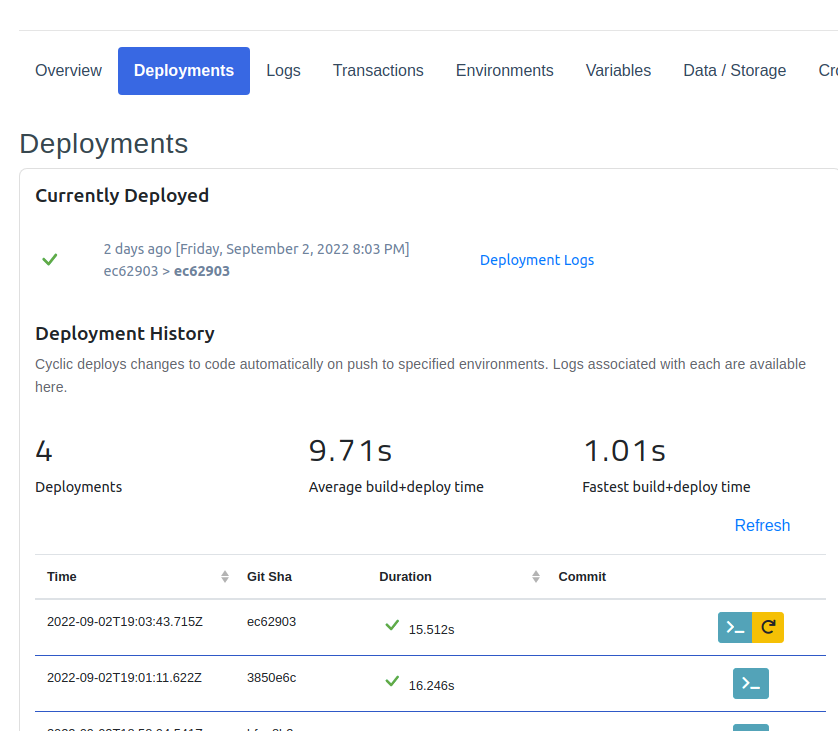
Let's commit all our new changes back into our code repository and let Cyclic automatically deploy these new changes to the web. We can track this process in Cylic's Deployments dashboard.
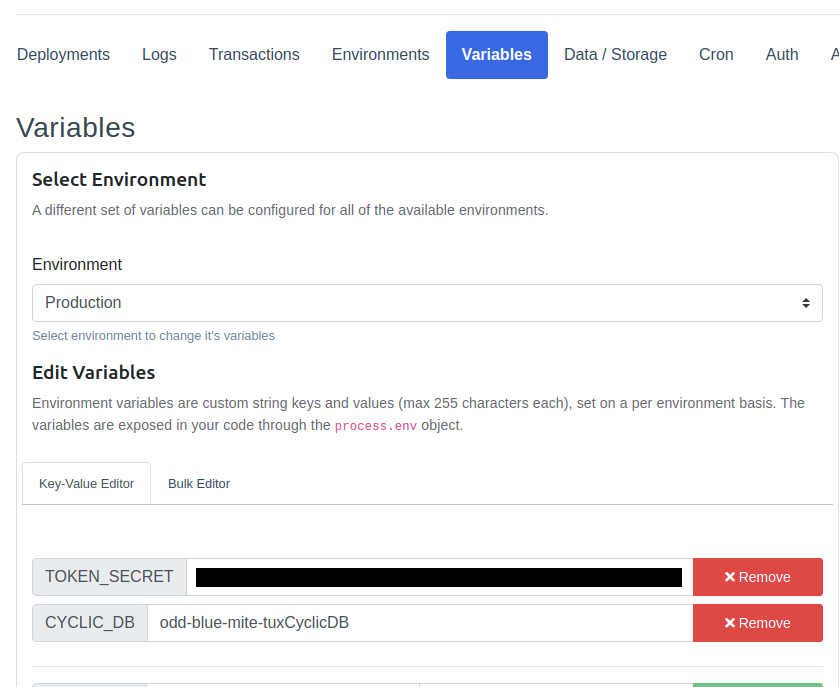
And since .env files are not committed publicly to GitHub repositories (since they're supposed to be secret), we must head back to the Cyclic dashboard and manually paste those values.
.png)
Furthermore, we can give our API its own custom subdomain, for free! 😃
Our API is now live and we can use it the same way we did when it was running locally on our machine, but this time we'll replace the localhost domain with the server's domain.
Where to go from here
We could still add a variety of endpoints to our API:
GETting items by category,- advanced searching capabilities using ElasticSearch (it has a free-tier!)
and many more things. You can get as creative as you want with it, you'll only be learning new things along the way!
Get inspired by the plethora of public APIs out there, attempt rebuilding them while adding your own personal touch, deploy them on Cyclic and you'll soon be the one teaching all this stuff! 💪